In a world where artificial intelligence is developing at a faster rate than culinary technology, 3D-printed pasta is attracting attention—and appetites—in both restaurants and kitchens. 3D-printed pasta, a futuristic idea first seen at upscale food tech and gastronomy expos, is now making its way into domestic kitchens by fusing culinary innovation, personalisation, and inventiveness.
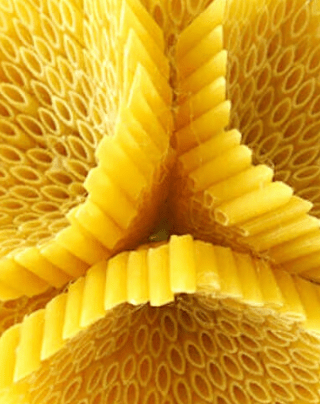
Image Credit: https://all3dp.com/ready-eat-pasta-looks-like/
3D-Printed Pasta: What Is It?
Food-grade 3D printers are used to create 3D-printed pasta by layering dough into complex, pre-programmed forms. The patterns, which are significantly more complex than what conventional pasta-making machines can create, range from geometric shells to flowery spirals. However, this goes beyond aesthetics. Additionally, the structure may have an impact on texture, sauce retention, and cooking time.
3D printing enables:
Nutritional Customisation: Modify ingredients to suit low-carb, high-protein, or gluten-free diets.
Distinct Flavours and Textures: Incorporate pureed vegetables, herbs, or spices straight into the dough.
Creative Designs: From butterfly-shaped bowties to honeycomb rigatoni.
Is It Possible to Print 3D Pasta at Home?
Yes, you can produce 3D pasta at home if you have access to a food-safe 3D printer, such as the byFlow Focus or the Barilla Food Printer. Paste-based materials, such as freshly made pasta dough, are typically supported by these printers.
Ingredients:
200g durum wheat semolina flour (for structure)
50g all-purpose flour (for elasticity)
100ml warm water
1 tbsp olive oil
Optional: spinach powder, beetroot powder, or turmeric for natural colors and added flavor
Instructions:
Mix Dry Ingredients: In a bowl, mix semolina and all-purpose flour.
Add Liquids: Slowly pour in warm water and olive oil while stirring. For colour, add any powders.
Knead: Work the dough for 5 to 8 minutes, or until it is smooth and just beginning to firm up.
Rest: Cover and leave the dough at room temperature for half an hour.
Load: Divide the dough into small pieces and transfer them into the extrusion chamber of the 3D printer.
Cooking 3D-Printed Pasta
After printing your pasta in the required shape:
Dry It: To make sure it maintains its shape, let it air dry for around an hour.
Boil: Submerge in boiling salted water. Start testing at 3 to 5 minutes, though cooking times may vary depending on thickness.
Pair: Use sauces that go well with your distinctive shapes; smoother sauces work well for intricate spirals, while chunky sauces are better for grooved patterns.
3D-printed pasta is more than just a novelty; it’s a starting point for edible design and culinary personalization. In the future, pasta will be formed to represent individuality, nutrition, and creativity in addition to being cooked to taste, thanks to the increasing accessibility of 3D food printers.
